前段时间参加了云原生 Meetup 杭州站活动,正好在这次活动上了解到了 KubeSphere 正在开展扩展组件开发训练营于是报名了这个活动,记录下学习过程。
0x00 说明 资料来源:
0x01 开发环境搭建 开发需要一个 ks 集群,可以使用 KubeSphere 官方提供的ks-dev环境,也可以自己搭建一个 ks 集群。
使用ks-dev环境 https://kubesphere.cloud/sign-up/?ref=REAwGESiNA 可以在这里注册一个账号,然后在控制台创建一个 ks 集群。
官方每个月会赠送 10h 的免费使用时间,可以用来开发测试。
本地安装 Node 使用 nvm 安装
1
2
3
wget -qO- https://raw.githubusercontent.com/nvm-sh/nvm/v0.39.7/install.sh | bash source ~/.bashrcnvm install 18
安装 yarn
1 npm install --global yarn
安装 helm
这里官方提供了文件和脚本两种安装方式,因为是专门为了开发扩展组件开的环境所以为了省事直接脚本安装
https://helm.sh/docs/intro/install/
1 curl https://raw.githubusercontent.com/helm/helm/main/scripts/get-helm-3 | bash
安装 kubectl
1
2
3
curl -LO "https://dl.k8s.io/release/$(curl -L -s https://dl.k8s.io/release/stable.txt) /bin/linux/amd64/kubectl" sudo chmod +x kubectl sudo mv kubectl /usr/local/bin
安装完成以后去 ks 面板下载 kubeconfig 文件放到 ~/.kube/config 目录下
安装 `ksbuilder
1
2
3
wget https://github.com/kubesphere/ksbuilder/releases/download/v0.3.13/ksbuilder_0.3.13_linux_amd64.tar.gz tar -zxf ksbuilder_0.3.13_linux_amd64.tar.gz sudo mv ksbuilder /usr/local/bin
检查安装版本
1
2
3
4
5
6
7
8
9
10
11
12
13
14
15
16
17
18
19
sonui@server:~$ ksbuilder --version ksbuilder version 0.3.13 sonui@server:~$ node --version v18.20.2 sonui@server:~$ yarn --version 1.22.22 sonui@server:~$ helm version version.BuildInfo{Version:"v3.14.4" , GitCommit:"81c902a123462fd4052bc5e9aa9c513c4c8fc142" , GitTreeState:"clean" , GoVersion:"go1.21.9" } sonui@server:~$ kubectl version Client Version: v1.30.0 Kustomize Version: v5.0.4-0.20230601165947-6ce0bf390ce3 sonui@server:~$ kubectl get node NAME STATUS ROLES AGE VERSION ks Ready control-plane,master,worker 15d v1.23.10 sonui@server:~$ kubectl -n kubesphere-system get po NAME READY STATUS RESTARTS AGE ks-apiserver-754d47ffcc-fx5fz 1/1 Running 2 (6d21h ago) 15d ks-console-54958f4674-8s225 1/1 Running 2 (6d21h ago) 15d ks-controller-manager-59d55bc77b-vgnl7 1/1 Running 2 (6d21h ago) 15d
编写 ks-apiserver 反向代理 参考官方示例
https://raw.githubusercontent.com/kubesphere/extension-samples/master/extensions-backend/weave-scope/weave-scope-reverse-proxy.yaml
修改为 argocd
1
2
3
4
5
6
7
8
9
10
11
12
13
14
15
16
17
18
apiVersion: extensions.kubesphere.io/v1alpha1 kind: ReverseProxy metadata: name: argocd-scope spec: matcher: method: '*' path: /proxy/argocd.works/* upstream: url: http://argocd-server.argocd.svc/proxy/argocd.works/ directives: authProxy: true headerUp: - '-Authorization' status: state: Available
其中 upstream.url 为 argocd 的服务地址
http://[service name].[namespace].svc
部署 ArgoCD 部署 ArgoCD 时需要修改下部署参数
首先创建一个 kustomization.yaml 文件
1
2
3
4
5
6
7
8
9
10
11
12
13
apiVersion: kustomize.config.k8s.io/v1beta1 kind: Kustomization namespace: argocd resources: - github.com/argoproj/argo-cd/manifests/cluster-install?ref=v2.10.0 patches: - path: argocd-server-config-patch.yaml target: kind: ConfigMap name: argocd-cmd-params-cm
argocd-server-config-patch.yaml:
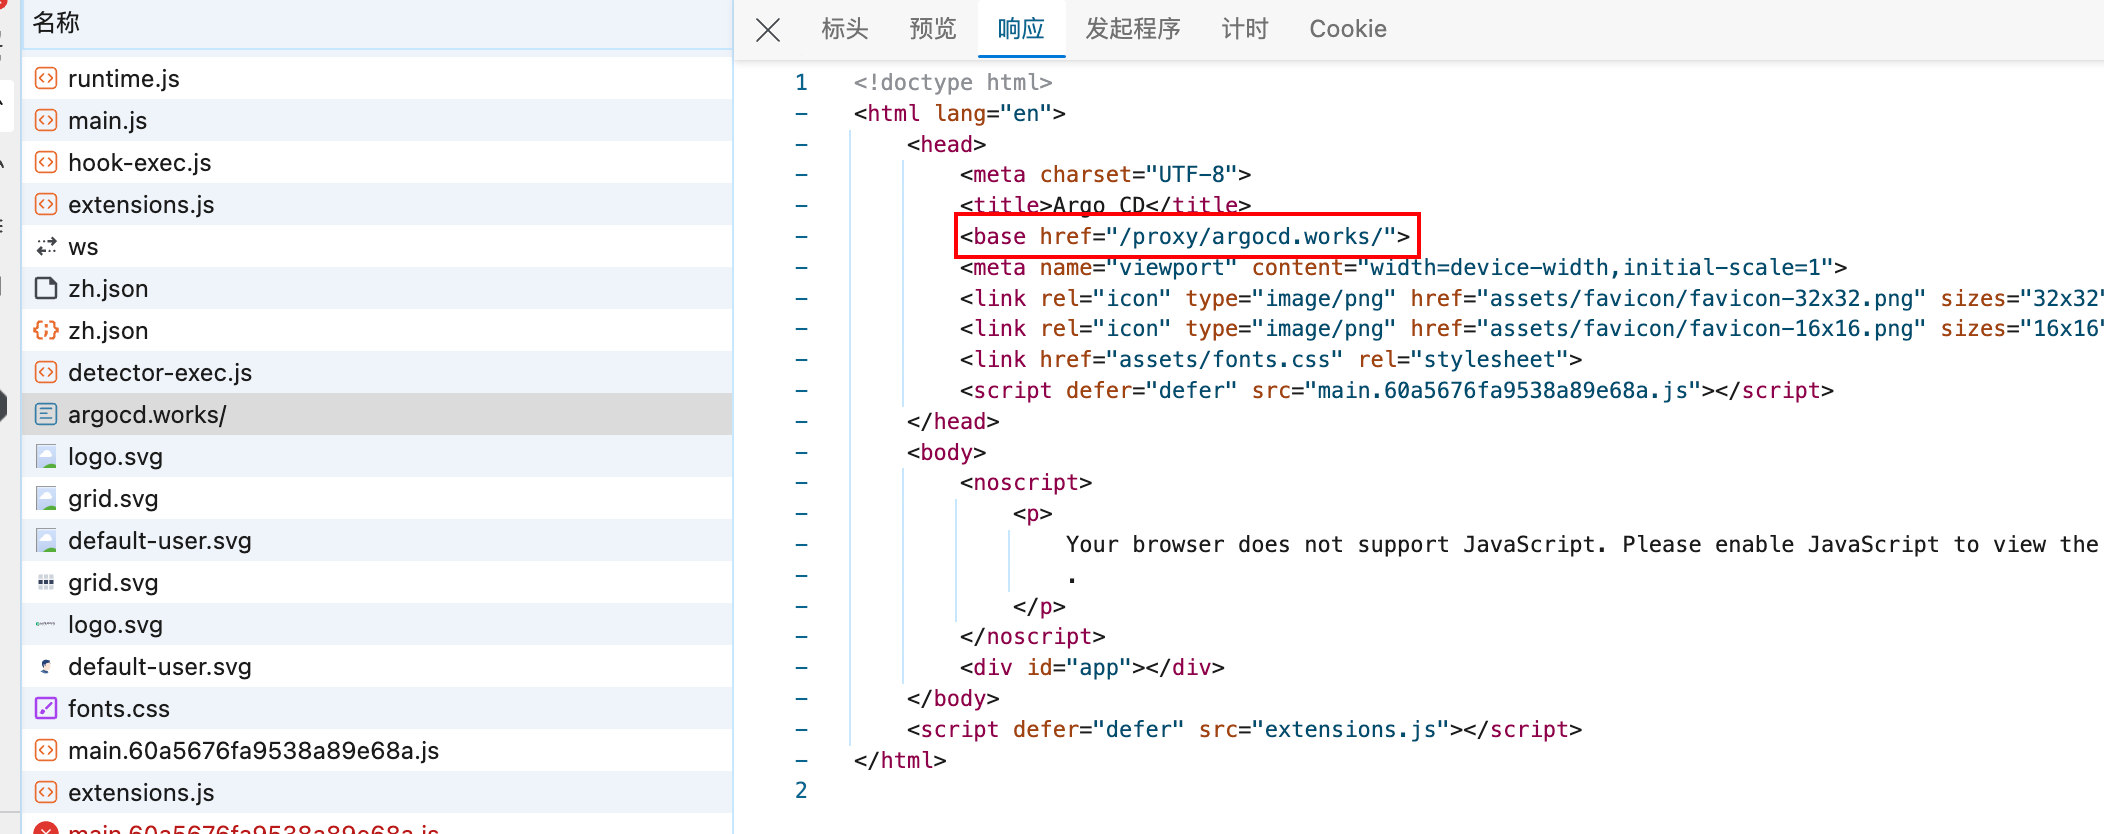
1
2
3
4
5
6
7
8
9
10
11
apiVersion: v1 kind: ConfigMap metadata: name: argocd-cmd-params-cm namespace: argocd data: server.basehref: "/proxy/argocd.works/" server.insecure: "true" server.rootpath: "/proxy/argocd.works"
basehref 配置说明
If the Argo CD UI is available under a non-root path (e.g. /argo-cd instead of /) then the UI path should be configured in the API server. To configure the UI path add the –basehref flag into the argocd-server deployment commandhttps://argo-cd.readthedocs.io/en/stable/operator-manual/ingress/#ui-base-path
然后执行 kubectl apply -k . 重新部署 ArgoCD
如果这个配置没有生效可以执行 kubectl rollout restart deployment argocd-server -n argocd 重启下服务使更改生效
设置前端反向代理 插件设置下 webpack.config.js,如果不设置的话在浏览器中访问 ArgoCD 面板会提示404错误
ks-console/configs/webpack.config.js
1
2
3
4
5
6
7
8
9
10
11
12
13
14
15
16
17
18
19
20
21
const { merge } = require ('webpack-merge' );const baseConfig = require ('@ks-console/bootstrap/webpack/webpack.dev.conf' );const webpackDevConfig = merge (baseConfig, { devServer : { proxy : { '/proxy' : { target : 'http://192.168.2.128:30880' , onProxyReq : (proxyReq, req, res ) => { const username = 'admin' const password = 'P@88w0rd' const auth = Buffer .from (`${username} :${password} ` ).toString ("base64" ); proxyReq.setHeader ('Authorization' , `Basic ${auth} ` ); }, }, }, }, }); module .exports = webpackDevConfig;
设置好以后需要重启下 yarn dev 使更改生效
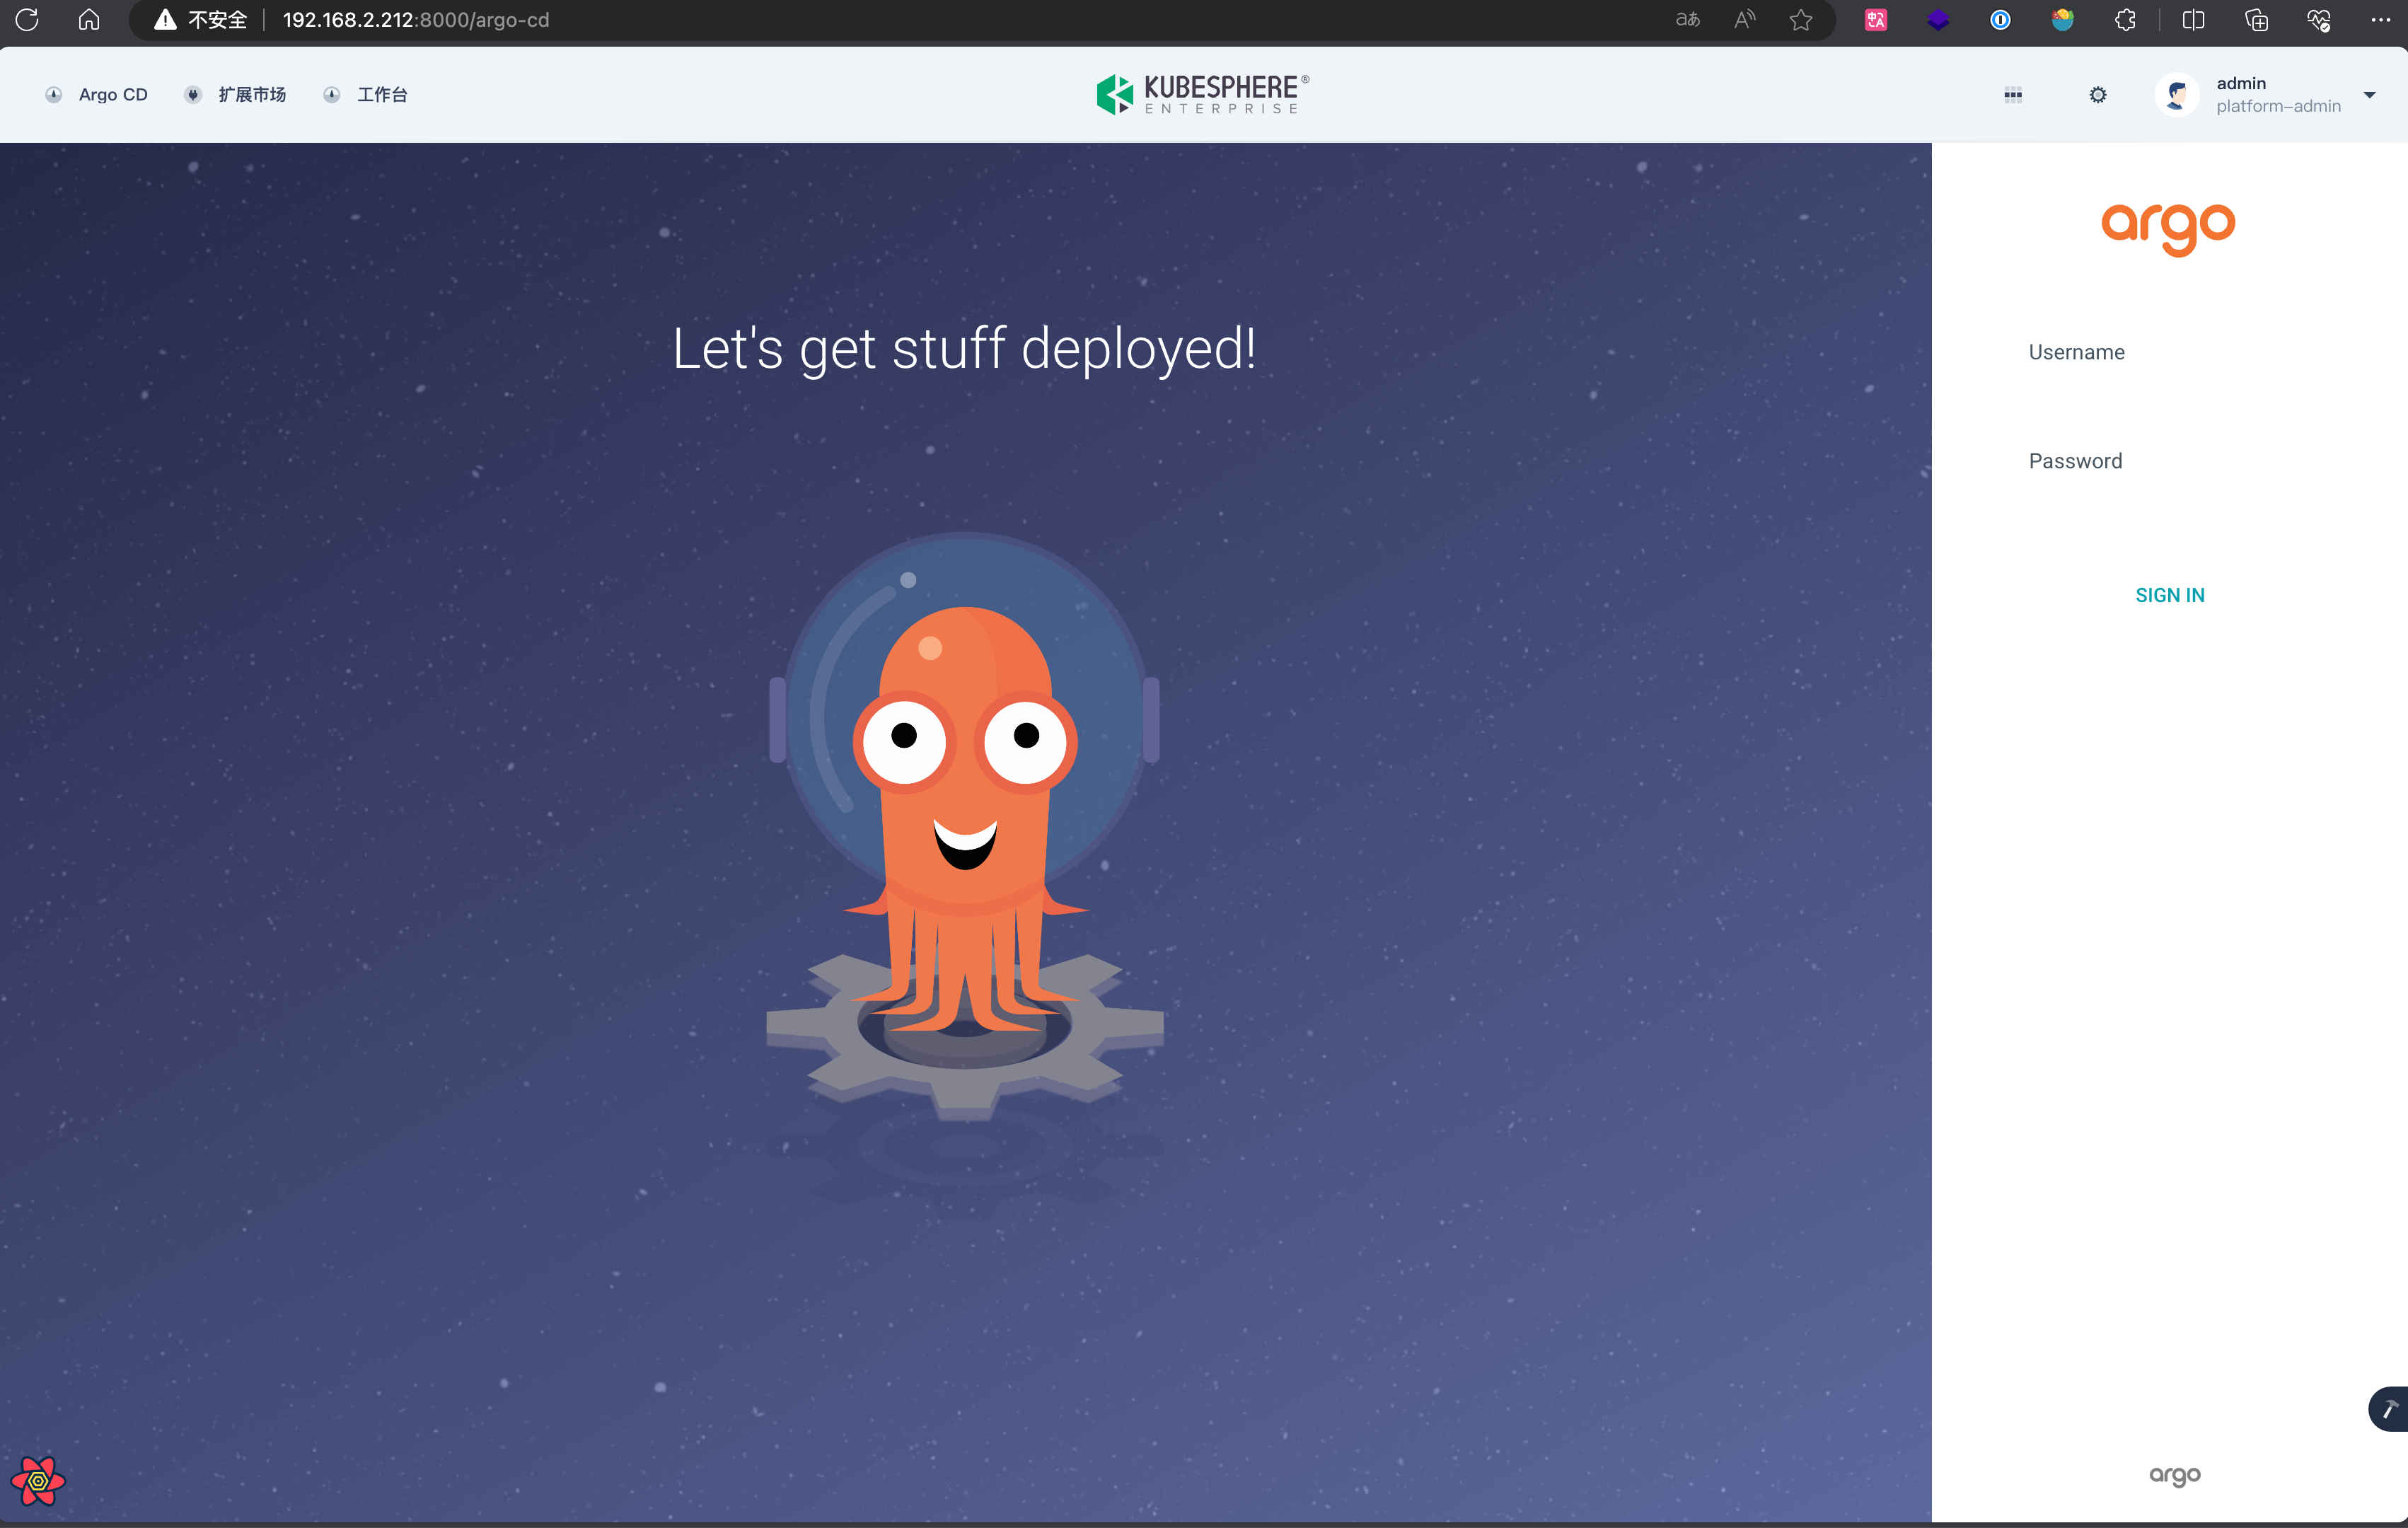
0x02 调试 全部完成后访问控制面板可以看到弹出 ArgoCD 登录界面
按照文档说明尝试登录出现进入面板后又回到登录界面的问题,F12 查看有接口返回 401 错误,猜测可能是传递给 ArgoCD 服务的这两个请求没有认证信息
根据官方调试教程 本地起了一个 ArgoCD 服务,然后修改 ReverseProxy 的 upstream.url 为本地 ArgoCD 服务地址
对官方文档中的 vscode 调试配置做了下修改
1
2
3
4
5
6
7
8
9
10
11
12
13
14
15
16
17
18
19
20
21
22
23
24
25
26
27
{ "version" : "0.2.0" , "configurations" : [ { "name" : "Debug ArgoCD Server" , "type" : "go" , "request" : "launch" , "mode" : "auto" , "program" : "${workspaceFolder}/argo-cd/cmd/main.go" , "env" : { "ARGOCD_BINARY_NAME" : "argocd-server" , "CGO_ENABLED" : "0" , "KUBECONFIG" : "/home/sonui/.kube/config" , } , "envFile" : [ "${workspaceFolder}/.envrc.remote" , ] , "args" : [ "--insecure" , "--rootpath" , "/proxy/argocd.works/" , "--basehref" , "/proxy/argocd.works/" ] } ] }
在 https://github.com/argoproj/argo-cd/blob/a7637cd106f615119930439d963ec0a9618b404d/server/server.go#L1037 添加请求头打印
1
2
3
4
5
6
7
8
9
10
11
12
13
14
15
16
17
18
19
20
21
22
23
24
25
26
27
28
29
30
31
gwMuxOpts := runtime.WithMarshalerOption(runtime.MIMEWildcard, new (grpc_util.JSONMarshaler)) gwCookieOpts := runtime.WithForwardResponseOption(a.translateGrpcCookieHeader) gwmux := runtime.NewServeMux(gwMuxOpts, gwCookieOpts) var handler http.Handler = gwmuxif a.EnableGZip { handler = compressHandler(handler) } if len (a.ContentTypes) > 0 { handler = enforceContentTypes(handler, a.ContentTypes) } else { log.WithField(common.SecurityField, common.SecurityHigh).Warnf("Content-Type enforcement is disabled, which may make your API vulnerable to CSRF attacks" ) } logMiddleware := func (next http.Handler) return http.HandlerFunc(func (w http.ResponseWriter, r *http.Request) log.WithFields(log.Fields{ "method" : r.Method, "url" : r.URL.String(), "headers" : r.Header, "remoteAddr" : r.RemoteAddr, "host" : r.Host, "requestURI" : r.RequestURI, }).Info("Incoming HTTP request" ) next.ServeHTTP(w, r) }) } handler = logMiddleware(handler) mux.Handle("/api/" , handler)
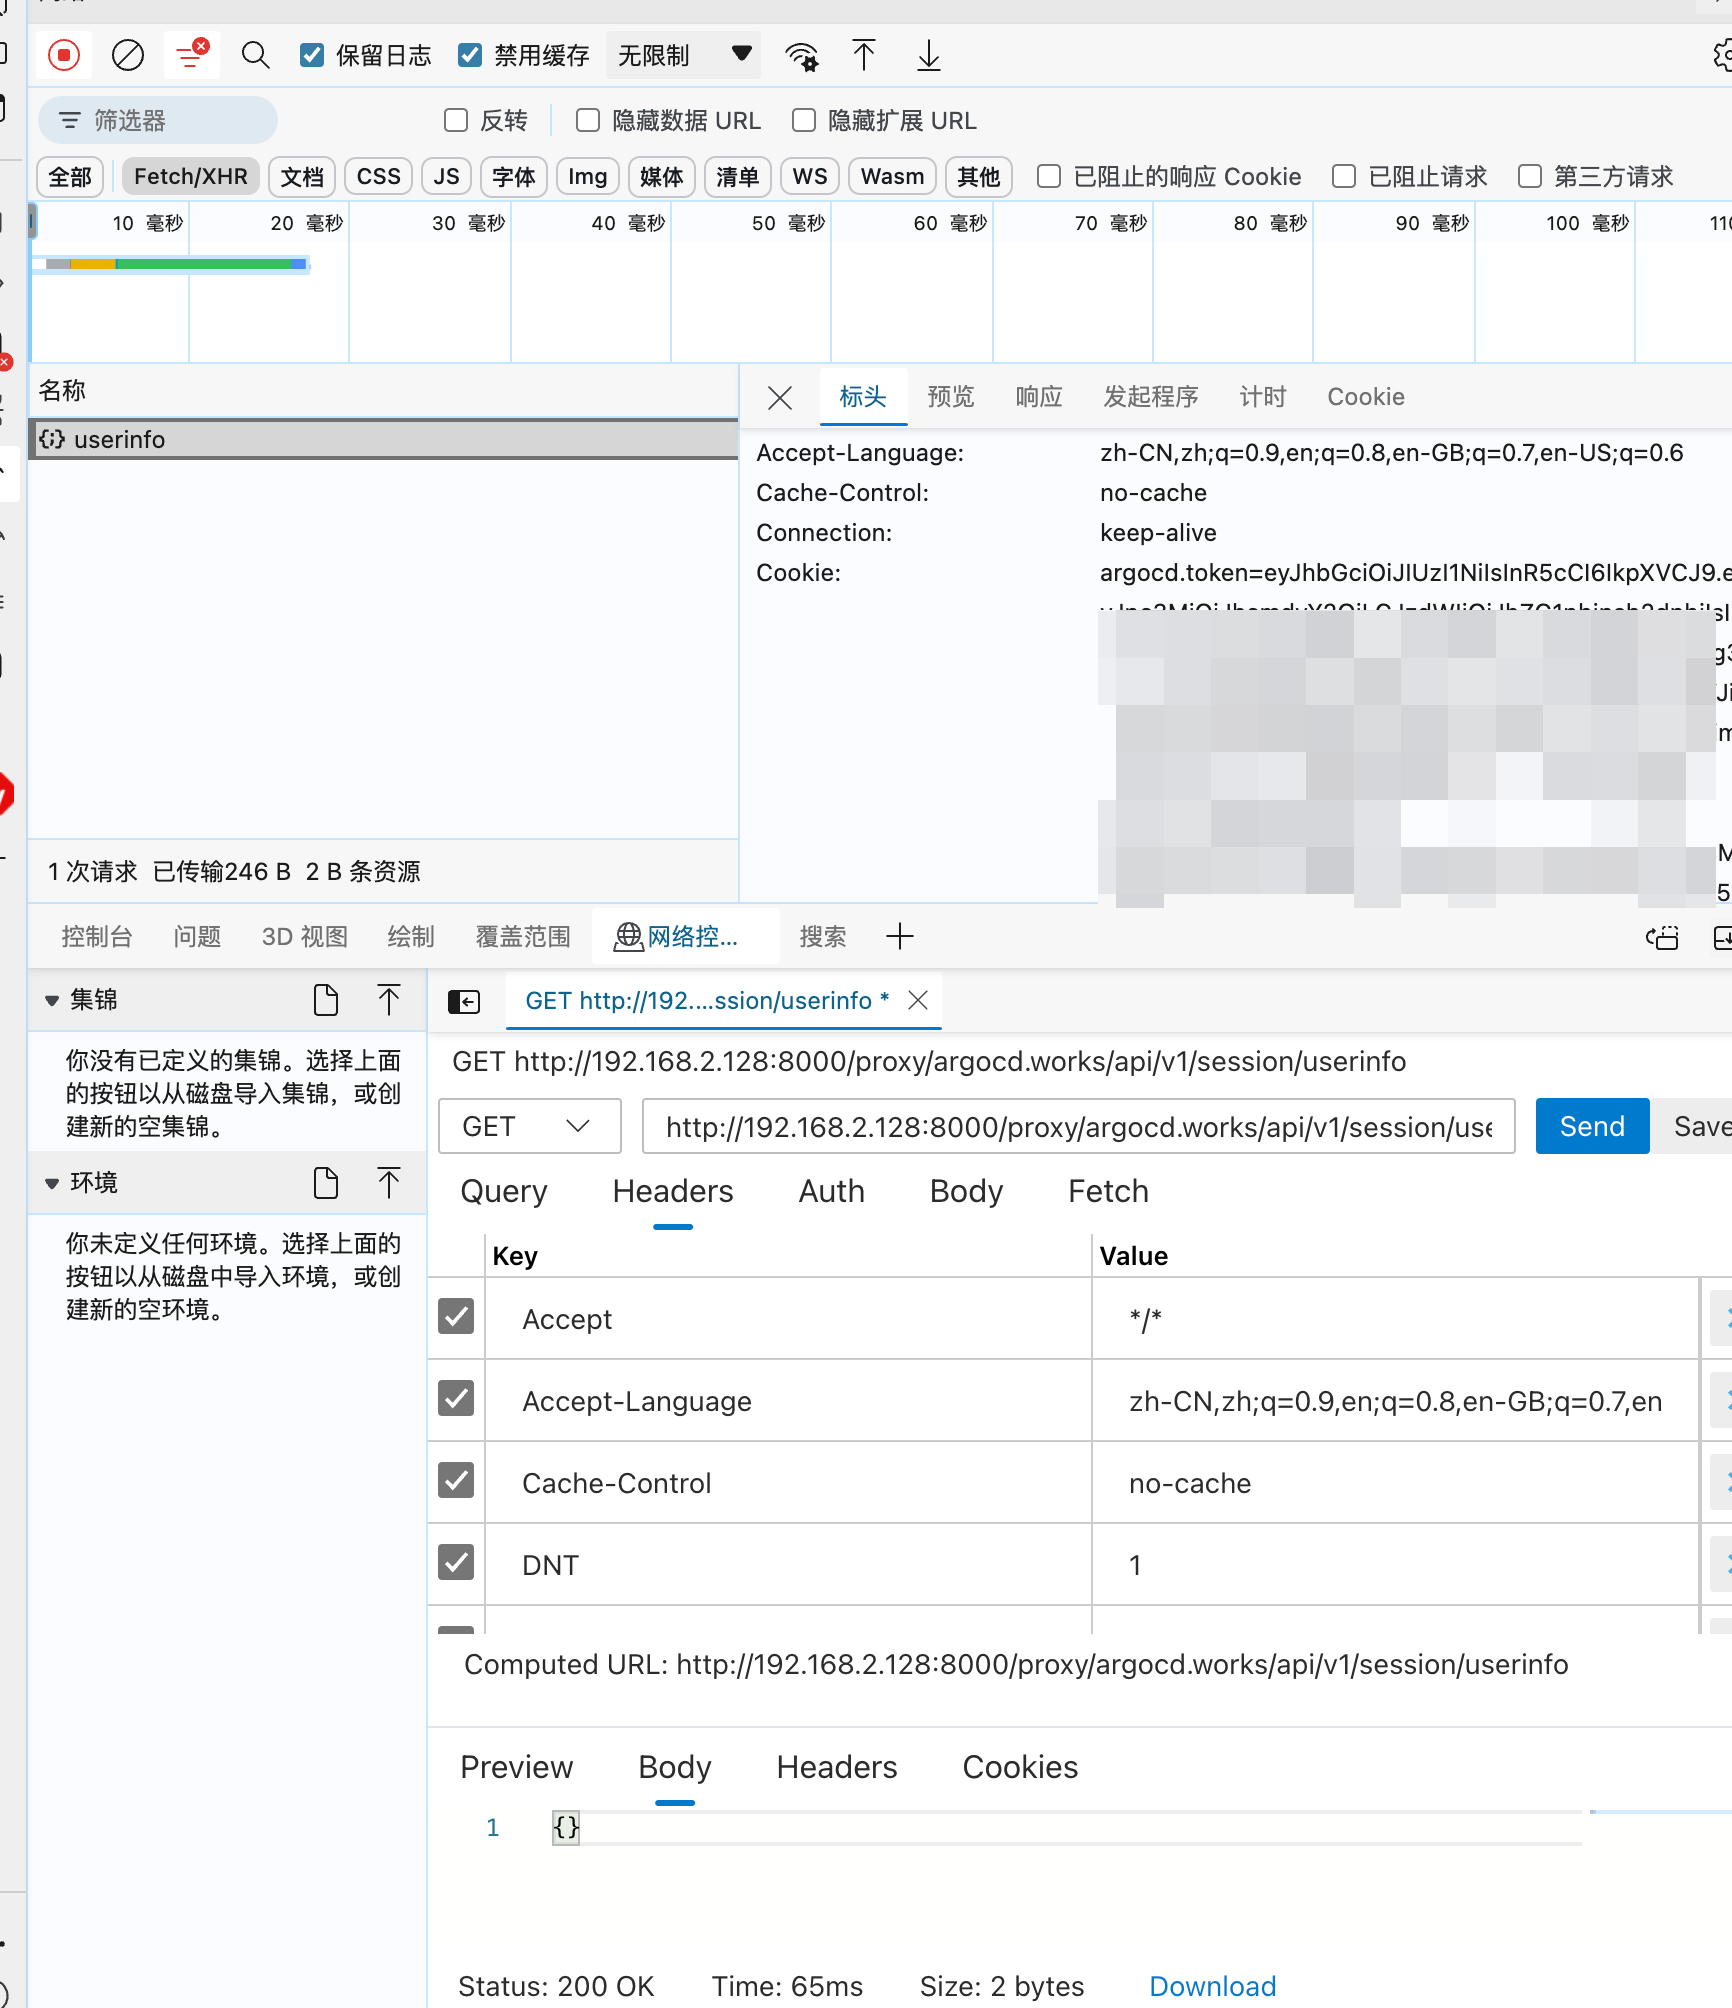
发起请求
可以在浏览器开发者工具中看到请求头中有 Cookie 信息,而 ArgoCD 打印的日志没有
如果在上面的日志代码中手动写死一个 Cookie 信息再请求能看到接口返回正常,确定是反向代理的问题,待联系ks技术问问,这里先写死继续后续开发
刷新页面提示 open dist/app/index.html: file does not exist 错误,添加下启动配置
进入 ArgoCD 代码目录下的 ui 目录,执行 build 命令生成 dist 目录,拷贝出来绝对地址填入下面的位置
1
2
3
4
5
"args" : [ "--staticassets" , "/path/to/argo-cd" ]
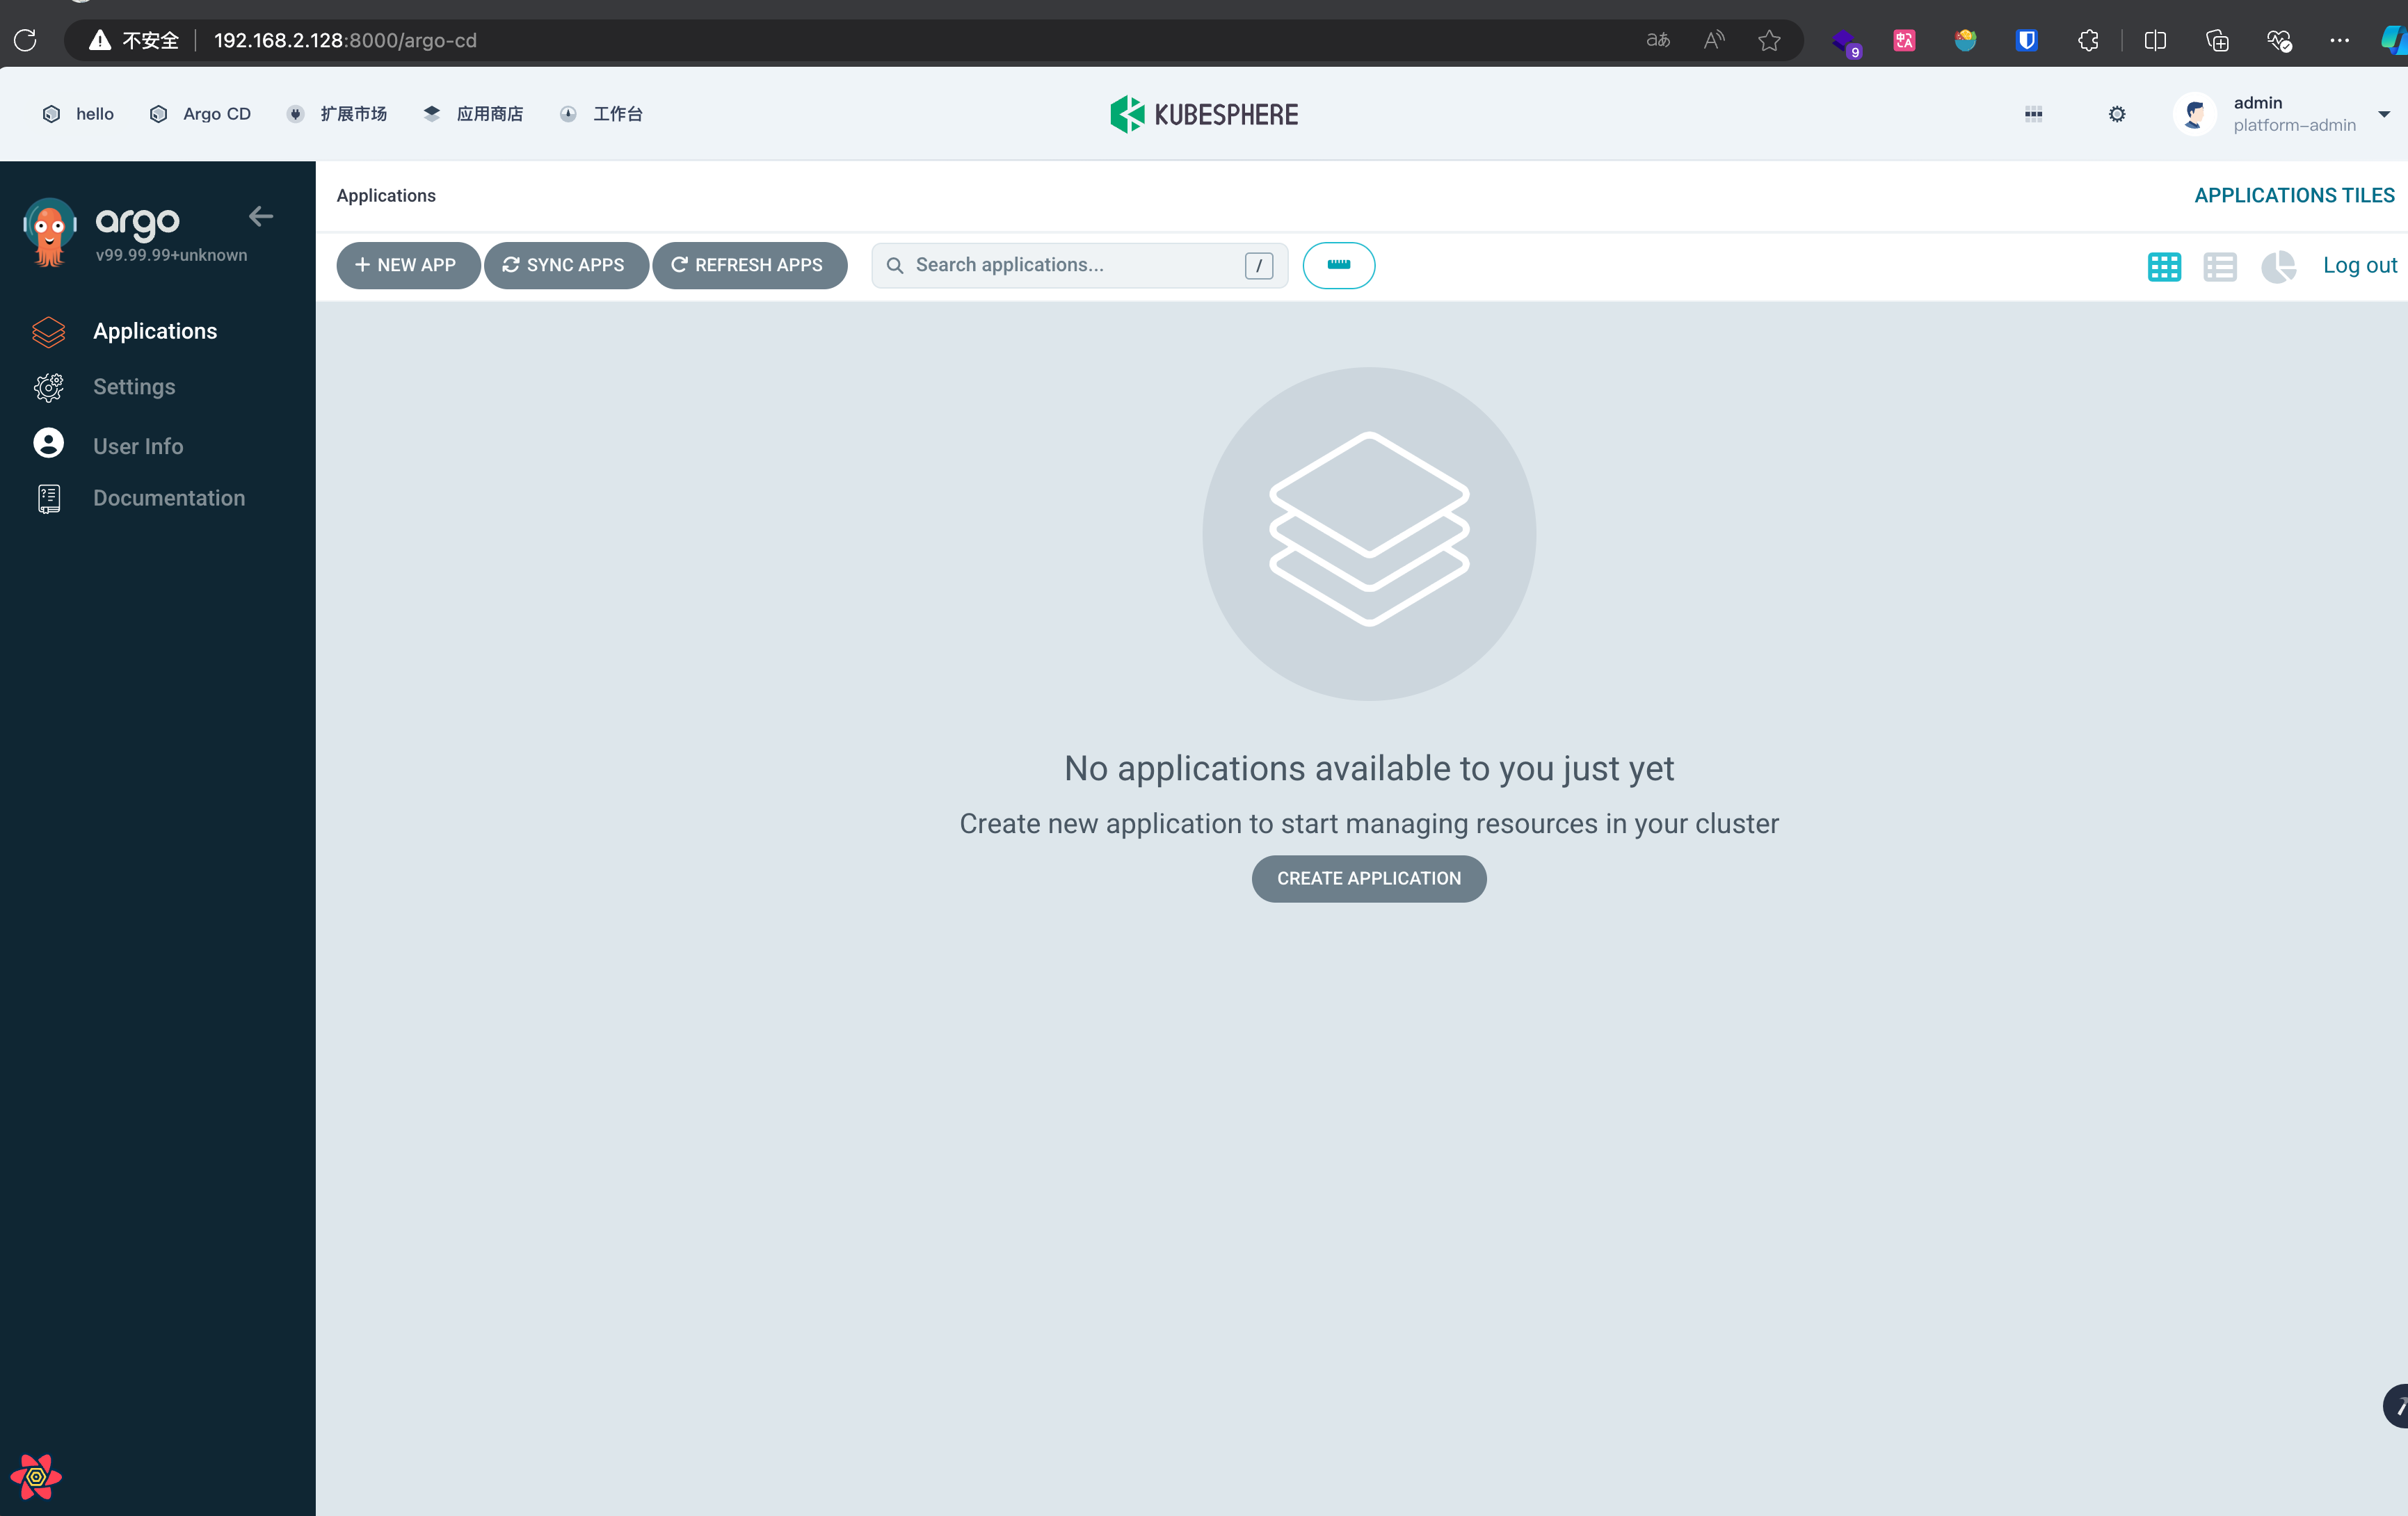
重启 ArgoCD 服务,刷新浏览器页面可以看到正常进入 ArgoCD 面板
待解决 Cookie 问题后再对接 OAuth 认证OAuth 对接文档